Summer Sketch Dump
Summer is the perfect time to create art at your own pace. I spent some time away from my computer this June, giving me a chance to fill my neglected sketchbook. Here are the highlights!


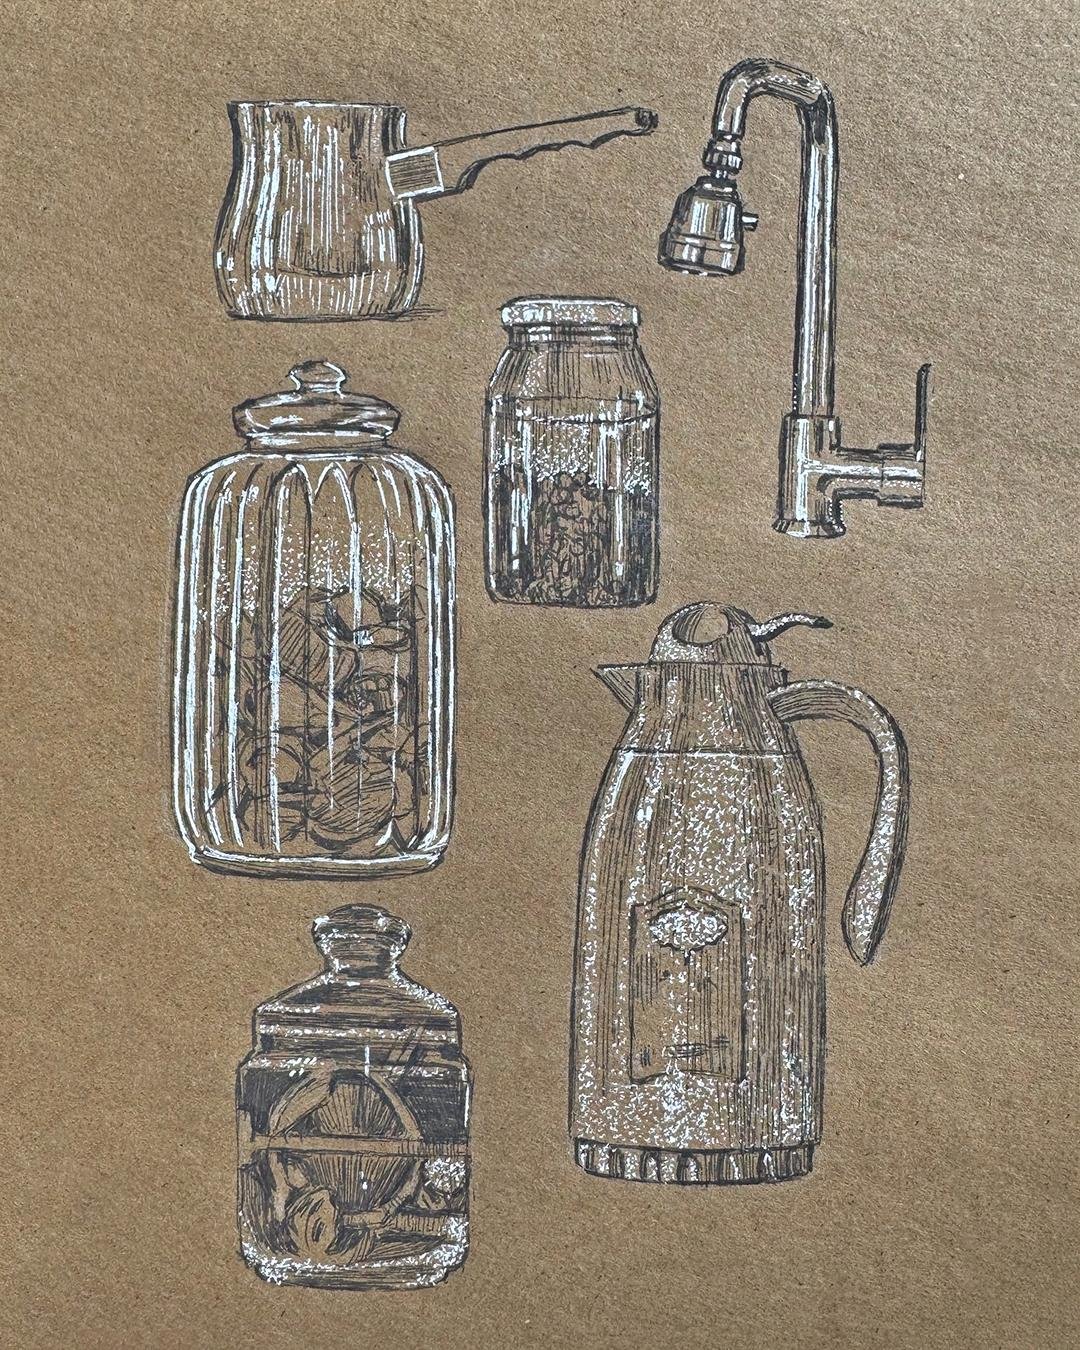
The first three pages use white gel pen, ballpoint pen. I have a drying-out brush pen that I used on some of the birds.
Istanbul Trip!
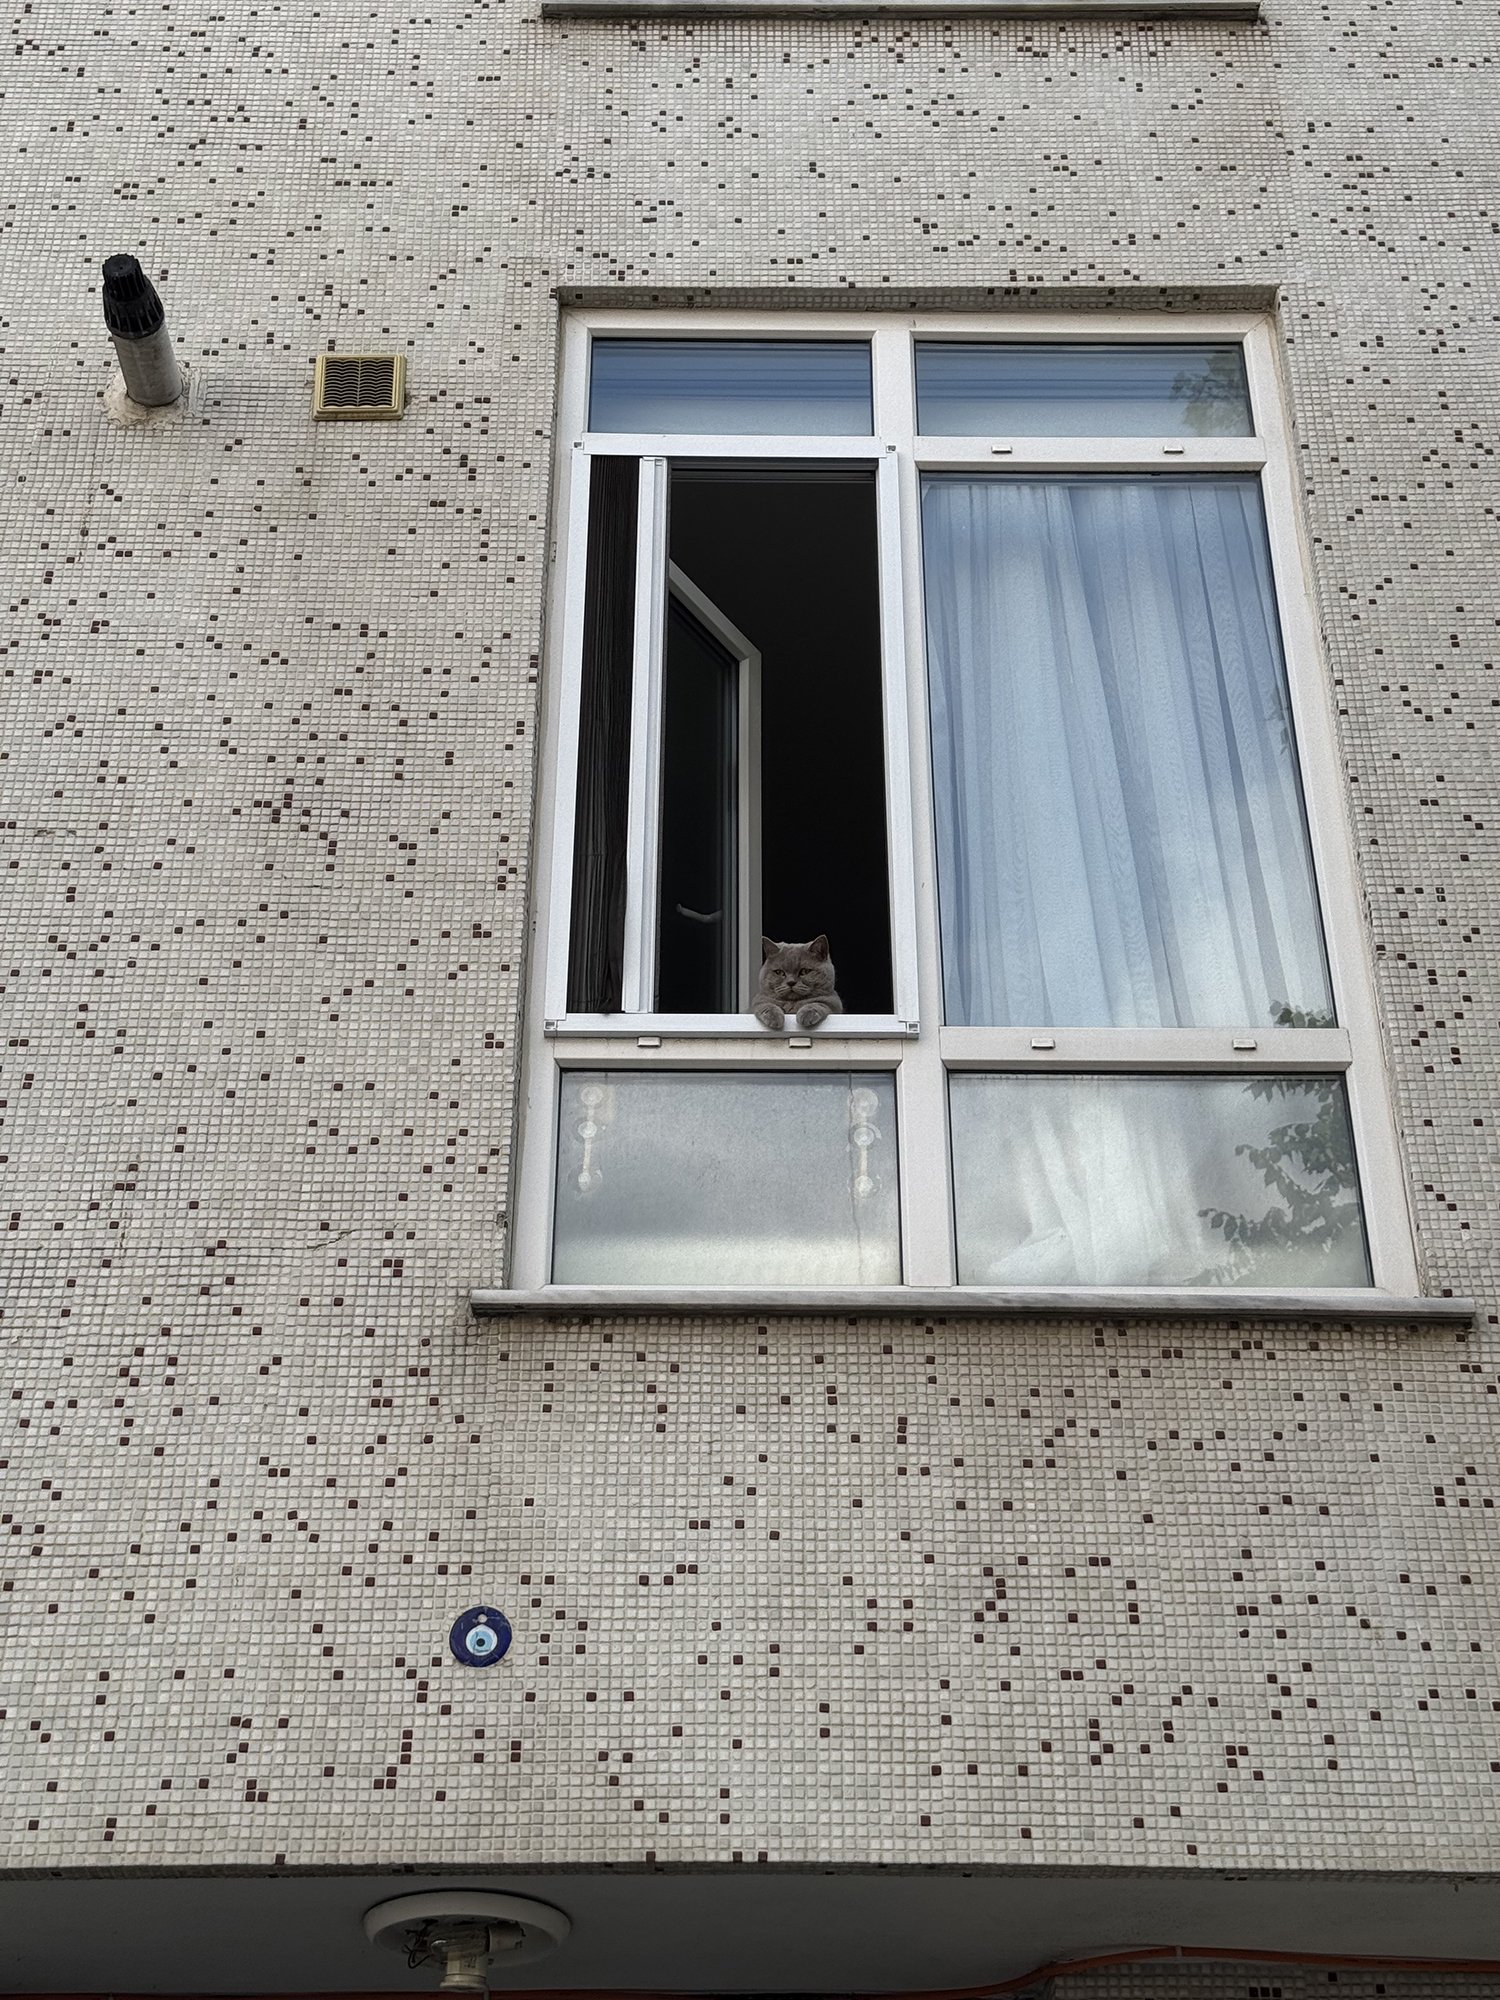
I spent most of June in Istanbul! The rose gardens were in bloom and the weather for the first half was perfect for sight-seeing. Here are some photos for inspiration. Most of my watercolor sketchbook pages came from that time.
Rose Garden and Shoreline at Maltepe Park


Architecture from the Princes’ Islands


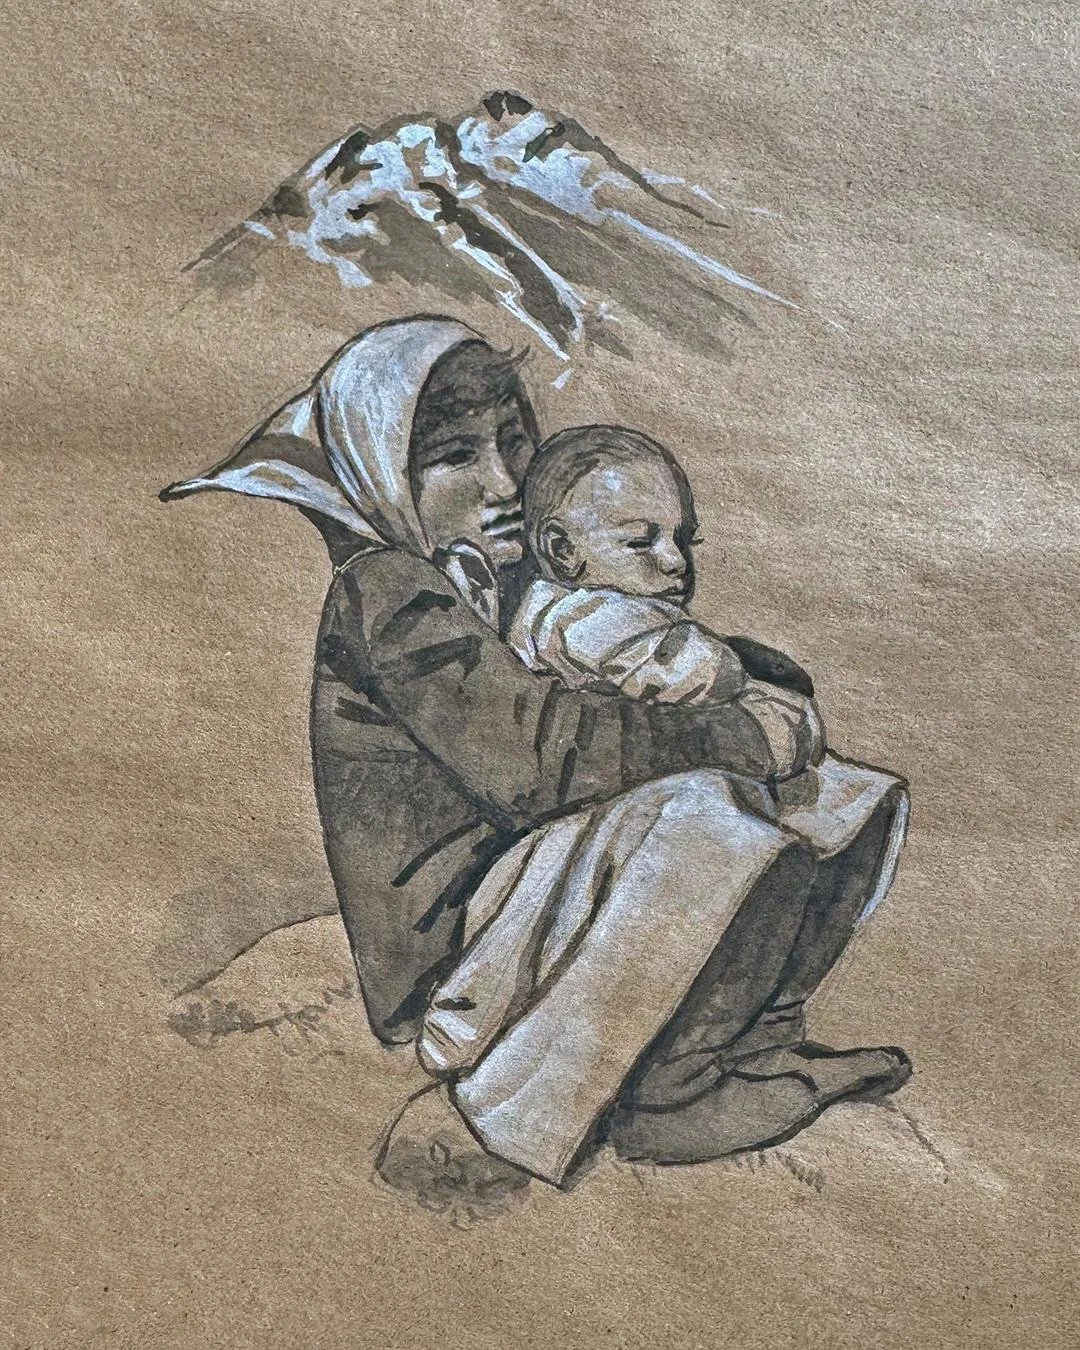
The sketches below are made with black and white watercolor (opaque).


Beyoğlu, The Bosphorus, and Kadıköy


Have a nice summer!