Here Be dragons and Illustration Resources

Fantasy illustration is all about picturing things that don't exist (like dragons), which begs the question of how to create a sense of realism. The book cover I designed for A.P. Couiteaux is a good example as it melds elements that do exist in the real world with the fantastical.

This book was just released on Kindle. Check it out if you like fantasy with a spice of sci fi.

After reading through the novel and discussing composition goals with the author, I created my typical three sketches. This cover is a full spread, which is an exciting “landscape” aspect ratio to work with. My task is to make sure the art works when cropped to just the front, but still has a nice visual flow from back-to-front.

The preliminary concepts:

Even from the earliest sketches, I found it helpful to have placement for the title text, turning the layer on and off when I wanted to focus just on painting. The final composition (below) combined two concepts from the preliminary sketches, focusing on the first sketch and incorporating the back side of the second sketch.

Now comes the challenge of fitting all of the text elements without creating clutter.

Below is the final text layout, color scheme, and art composition. This is important to do before polishing the artwork. There is less worry if a major change needs to be made during the sketchy stage to accommodate text. This layout is for hardcover, hence the interior flaps.

Now I am ready to dive into gathering photo reference. My aim for reference is to learn about the structure of lighting and anatomy that will inform my artwork, but not by pursuing "detail" in the traditional sense of realism. I enjoy realism that focuses on mood over detail, just like a Pixar movie can have "cartoony" 3D characters that feel life-like.

Let’s dive in to one of my favorite resources: 3D models!

I like to use 3D models for most of my reference, which I might build from scratch if it’s really simple, but most often I combine and alter existing models from free 3D model websites. The only big challenge for 3d model reference is getting natural-looking clothing folds, so I will usually take a few selfies for that.

I construct, add lighting, and render images using Blender (also free). Blender is not an easy software to use, but if you are opening existing models and adding a few light sources, you only need to learn a few tools inside the program.

Here is a look at the Blender interface. Eve says hi.

 Here is a more complete list of the free resources I use for my reference, they are:

  • Blender

    My main 3D modeling software

  • Daz3D

    another 3D modeling software more focused on posing human models. Not as comprehensive as Blender, but more user-friendly

  • Mixamo

    Auto-rigging for your humanoid models to then pose in Blender. Also has a couple of free character 3D Models

  • Sketchfab-

    My favorite website for free 3D models. They have a 3D viewer, which is nice for quick reference as well as downloadable models

  • Quixel

    A really amazing library of 3D scanned models. I haven't tried this one yet, but it's on my radar. Requires an add-on to import the files to Blender

  • Grabcab

    A great website for more technical 3D models, like vehicles and furnishings. Not the best for downloading (file conversion needed), but has a built-in 3D viewer

  • CGtrader

    A smaller selection and not as high quality as sketchfab, but free is free. Account required.

  • Turbosquid

    Another free 3D Model option. Account required.

I don’t always shy away from paid 3D models. If it saves you time, it’s worth every penny and you can probably use for future reference as well.

A pro tip for rigging non-human, imaginary creature 3D models like dragons: skip the rigging. I find it faster to cut up the model in sections and just rotate limbs to the desired angle for the pose. The wings I used for my dragon (which actually do need to be rigged) come from a pre-rigged bat model. Some mythical creatures are more or less real animals with added components, like unicorns. Just stick a horn on that horse. Work smarter, not harder.

Here is the final spread for Eve Archer! Online 3D models and other virtual resources are more abundant than ever and give you a great degree of control and creativity for implementation.


Fantastical Art for Your Fantastical Friends!

If you haven’t heard: I have originals, prints, stationery, and more goodies on my Etsy Store with Cyber Weeks Sales happening as we speak. Check out my store for all the details.

Dear Art Graduate Part 3

Dear Art Graduate,

Create accountability.

"Jovian Fantasy" was created for the Parallel show with Light Grey Art Lab--a great motivation factor.

"Jovian Fantasy" was created for the Parallel show with Light Grey Art Lab--a great motivation factor.

In my last post, I talked about how creating a series of pieces can strengthen your portfolio. It's a great thought, but it won't come to fruition through sheer force of will--it also takes time management and external motivation. Here are the tools that help me organize my time and light a fire under my rear:

Time Management

1. Use a Calendar

 Write it down: project deadlines, gallery shows, local networking events, conventions, and any events that might be beneficial, even if you're on the fence on whether to go or not. Studies show that writing things down can make you 42% more likely to do it. For me, the likelihood is even higher (~90%) since I make it part of my routine. I use a white board calendar, which I find faster to manipulate than a digital calendar. With that said, you should use whatever calendar is most effective for you. First, I would suggest writing down your larger goals and events for the year (big conventions may require multiple months of preparation). Next, use the first day or last day of the month to lay out the smaller goals and events for the month. For month-long illustrations, I will subdivide my deadlines to include deadlines for thumbnails, revised thumbnails, finished painting, and coloring. Just remember to check your calendar, which will free your mind to focus on creating great art!

2. Record Your Working Hours

Start recording your hours when working on a project. If you have never done it, be consistent and record every project. I use Toggl, a free time tracking program that lets you label time slots and creates a monthly overview of how you allocate your time. You can record time separately for thumbnail sketching and for the final execution of an illustration, which will give you a better sense of what to charge clients. When I make a quote, I like to find a balance between my hourly rate and standard illustration pricing. It may surprise you how long your illustration takes and that knowledge is important in planning future projects. You can also use that knowledge to negotiate with clients who are unfamiliar with the often time-intensive processes in illustration.

External Motivation

It helps to have people to keep you accountable for finishing your work, which is part of what makes art school so attractive. Here are a few ways to motivate your learning and productivity without costing your firstborn:

1. Submit Your Art

Submitting your art can include art competitions, online communities, gallery submissions, and art annual submissions. There are a bunch of art challenges out there, so focus on ones that really resonate with you. Always read the fine print for art contests, especially ones that utilize the winning artwork for a product or for advertisement purposes. A red flag would be if the winning entrants lose all rights to their work without appropriate compensation. It's more my personal stance on business ethics, but the question I ask before entering a contest is, "Is the artwork for this contest for a product that an art director typically hires an artist for?" If the answer is "yes", I don't enter the contest. 

Here are a bunch of great submission avenues that I currently participate in or have recently participated in:

The super secret tip to entering all these things is to join mailing lists. They will straight up email you the deadlines! It's madness! 

2. Participate in Local Art & Small Business Gatherings

Many art and small business gatherings are education-focused. Mingle among those who can share their more advanced techniques and freelance insight! There's nothing quite like bouncing ideas off of people and getting a healthy dose of art critique too. You will start developing valuable relationships with people who will encourage you and check in on your progress.

Coming to a city near you:

  • Chamber of Commerce After-Hours/ Local Business Gatherings
  • Collaborative Workspace Mixers (these workspaces are popping up everywhere)
  • Local Art Association Events
  • Open Studio Events/Gallery Receptions
  • Drawing Clubs/Meet-Ups (can ben discovered via Facebook and meetup.com)
  • Local Conventions/Art Shows
  • Workshops and Demonstrations

I stress local events as great sources of motivation since you will make more frequent and often deeper connections with people than at distant events. Look to Facebook, your local newspaper, and coffee shop pin boards for local events!

What helps motivate you? Share with us your best fire-igniters in the comments!

Dear Art Graduate Part 2

Dear Art Graduate,

Make a series.

Now that you're waiting for employment, what are you going to do with all that time on your hands? This is a good problem to have. You can stay proactive with your job search and still be invested in your personal projects. 

Post-graduation, my personal projects spanned a gamut of themes and narratives. Some pieces were developed for contests and others were just for fun. All were valuable in providing artistic growth, but they lacked memorability. If you want to be a commercial artist, memorability is essential to standing out among an ocean of highly-skilled fishes.

Think of your favorite artist (or any "famous" artist) and you will find that they occupy a certain niche. They are not limited to one subject or medium, but they make a lot of one thing: Monet's lily pads, Mucha's swirly-haired women, Keane's big eyes, the list goes on. Once that clicked for me, I realized the potential that a series of related pieces has. A series is far more memorable, especially if your stand-alone art typically runs the gamut like mine does. Furthermore, a series gives you more exciting monetization options: art books and zines, collectible card decks, postcard packs, and more!

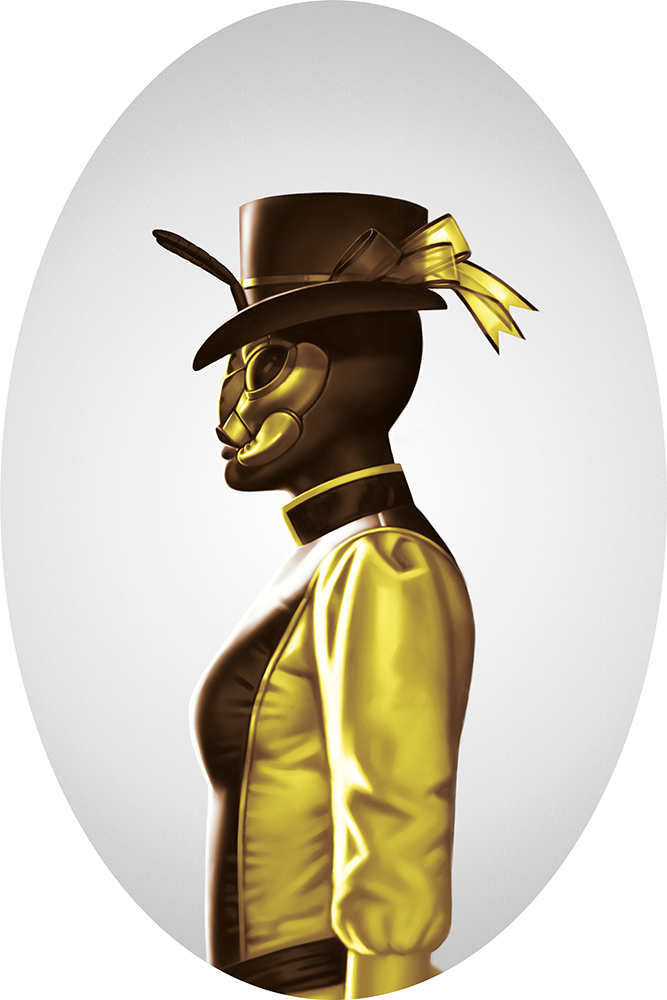
You can start fairly small with a series. One of my more successful series is just three pieces. The idea started with my Monocle Mantis illustration, which achieved a fair amount of memorability on its own. I enjoyed the painting enough to create three more anthropomorphic insect humanoids. The enjoyment factor is huge because a series can burn you out otherwise. My Gentlebugs combined my love of insects and victorian fashion. The steampunk aesthetic doesn't hurt either, which made the artwork more marketable at conventions and art shows. 

If you are having trouble finding where to start, look at your sketchbook first. If your sketchbook is lacking, you can look at your existing body of work and see what content pops up most frequently. This is also the point to decide what the end-product will be. Think of the application for your series and how you might need to format your artwork accordingly. Next, set yourself a deadline and get started! 

Here are some illustrators who are seriously killing it with their current projects. Watch them like a hawk and learn their ways:

Stephanie Law's Descants & Cadences (You can learn her secrets here)

Peter Mohrbacher's Angelarium

Wylie Beckert's Wicked Kingdom Deck

Iris Compiet's Faeries of the Faultlines

Chris Seaman's Cameo Creeps

Just Browse the "Most-Funded" Section on Kickstarter